Setting up sensors
------------
This article is outdated. See updated setup guide here.
------------
This article contains a section about the physical installation and one about the registration that needs to be completed in the platform afterwards.
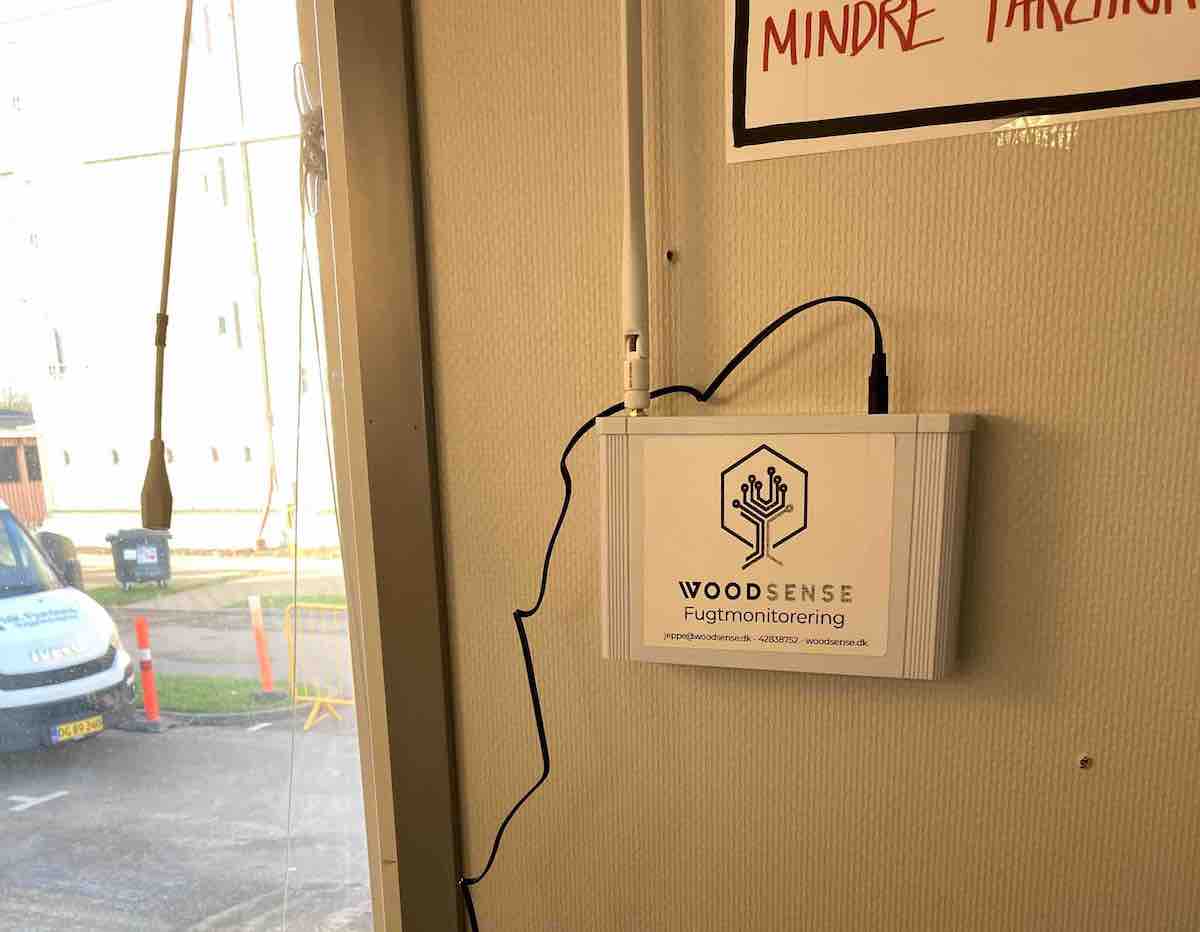
Getting started with the solution can be done in minutes. Just plug in the gateway and it works. Your moisture meter needs to be screwed in with 2 screws, and then it is registered in a few clicks by scanning a QR code on the sensor, which sends you to our system (without installing an app) and in a few clicks it is registered and operational.
Physical installation
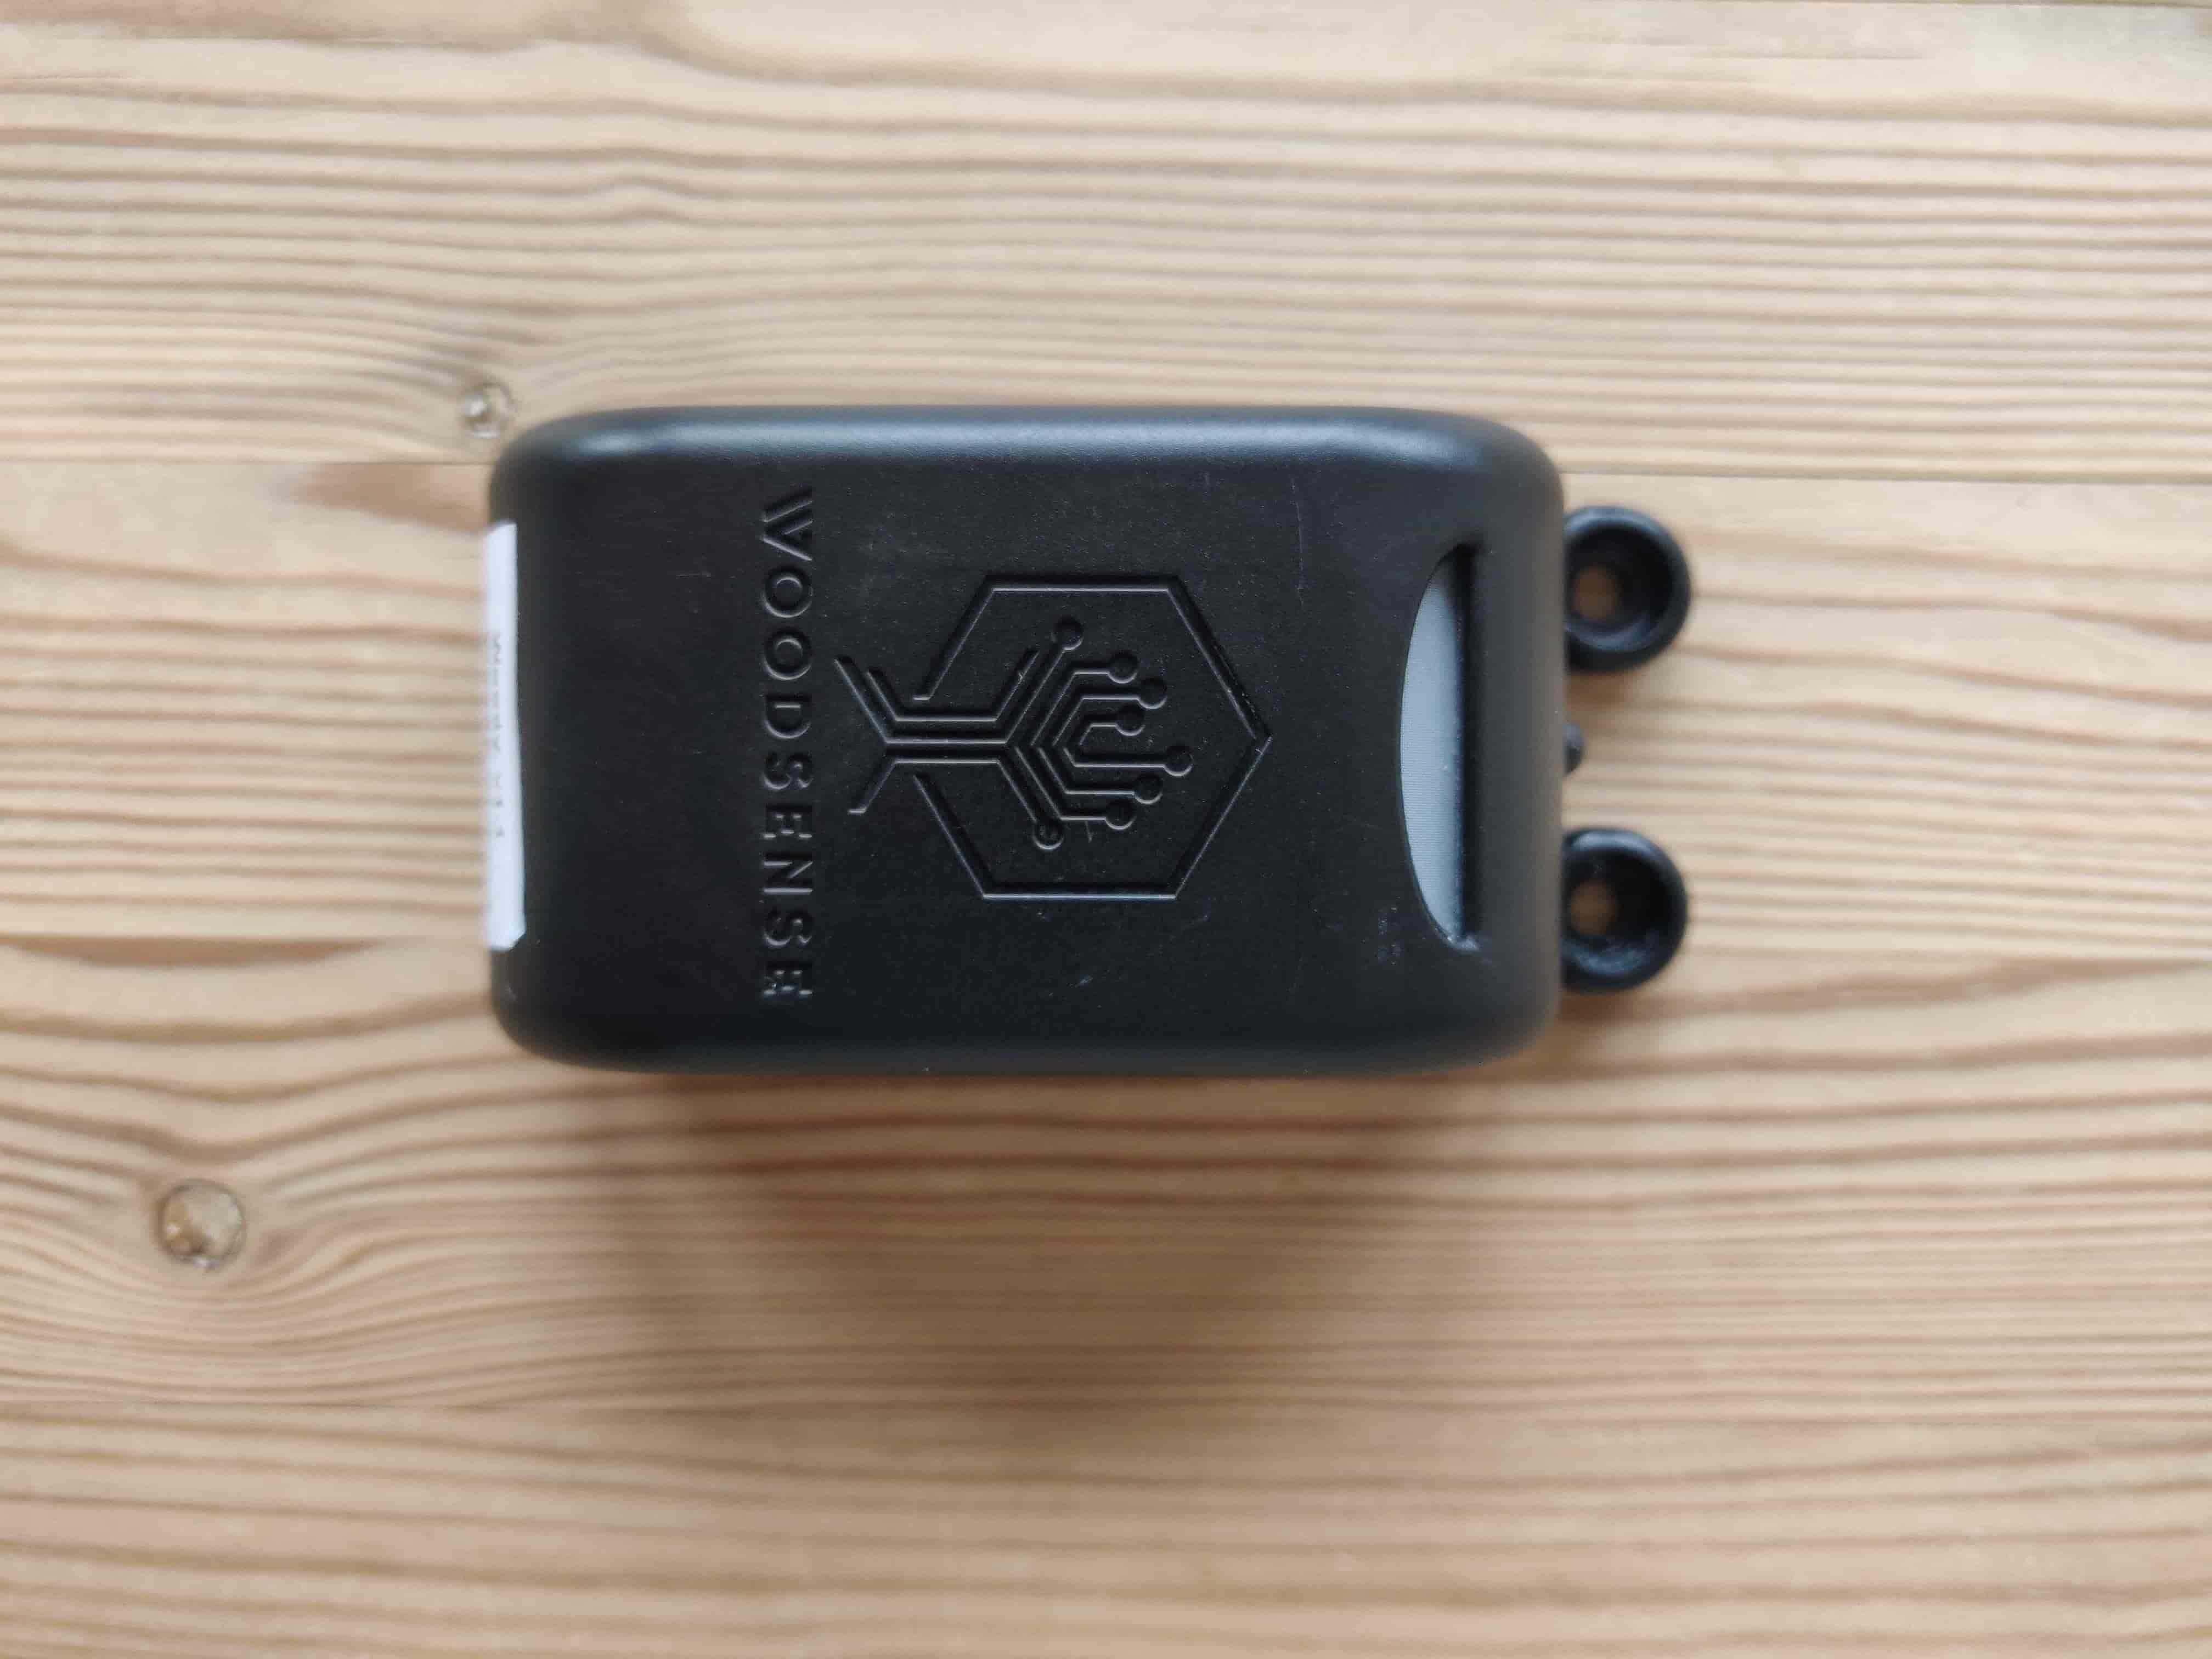
When setting up the sensors, it's a good idea to make a plan for where each sensor should be placed. In doing so, note the short ID on the sensor's label (ex: woody179) and write it down on a floor plan or block with location.

When setting up
Use the two associated screws to screw the sensor in.
For optimal placement
- Put the sensor with the fibers or with the screws under the sensor.
- The sensor must not be installed on horizontal surfaces where there is a risk of snow.


Insulated screws
Specifications
You want to insulate the pins when you want to measure the wood moisture content at a specific depth or want to avoid high spikes in moisture readings caused by rain and water on the surface of the timber.
Without insulated pins, the sensor measures the wood moisture content where the moisture is the highest between the two pins.

If the pins are insulated predrill a hole with following specifications
- 2mm thicker diameter than the diameter of the screw.
- 10mm shorter than the length of the screw.
Registration on the platform
To get the full benefit of the sensor, there are a few things that need to be detected on the platform before the sensor is put into service. This includes, among other things, description and image(s) of the sensor's location as well as the choice of wood type the sensor is installed in.
Images are used to easily locate the sensor in the future and are therefore incredibly important to get done right away.
The easiest way to do this registration is to scan the QR code on the sensor and follow the setup wizard on your phone. Please note that registration can also be done manually by accessing the sensor through the platform on your computer or phone.
Registration through setup wizard (recommended)
Use your phone to read the QR code (on the iPhone through your camera app, and android through a dedicated QR reader). The QR code will take you to the setup wizard, where you just have to follow the steps specified. If you haven't been signed in recently, you'll be asked to sign in first. See an example of setup in the following video:
Tips for taking pictures:
- Please take a picture of the sensor's context so that it can be read what environment the sensor is in.
- Please take close-ups of the sensor from different angles so that any future challenges can be identified.
Sensor position
The wizard will have the option to use your phone's current location as the location for the sensor, providing the most accurate take on the sensor's location. This will require you to give permission to use your location, which you will automatically be asked about.
The location is automatically subtracted from the gateway's connected mobile master.
If you've already had your sensor turned on for a period of time, you might notice that a location for the sensor has already been defined. This is based on the location of the gateway(s) to which the sensor is connected and will therefore be subject to some uncertainty.
Manual registration through the platform
If you have reviewed the registration wizard from the QR code, you can skip this section. Manual registration is intended as an alternative solution to the registration guide if, for example, you cannot physically access the sensor or the like. See an example of manual setup in the following video:
To perform registration manually, you must first enter the sensor's page by clicking on the sensor name in the sensor overview on the web app. Proceed to go to the "Details" tab (the small i) where you can type the sensor's location and choose wood type.
Then remember to tap "Save Details" so that no work is wasted.


In conclusion
Sensor info can always be filled in on our app.
Here, you can also create groups, drag reports, and more. Read more here.
For the sensors to work, LoRaWAN coverage in the area is necessary. It is available from one of our gateways. Read more here.