Floor plan guide
On our platform, users have the opportunity to place their sensors on a floor plan to create a better overview of where they are located in the building. The following wizard describes how to use this feature.
Floor plan upload
Before sensors can be placed on a given floor plan, it must be uploaded to the platform. To do this, go to the "Floor plans" page from the menu.
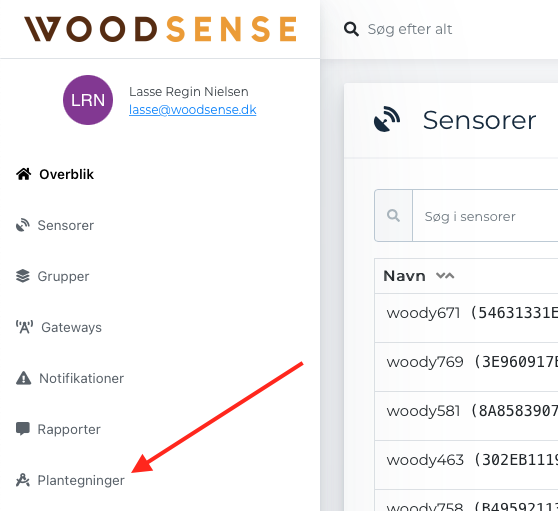
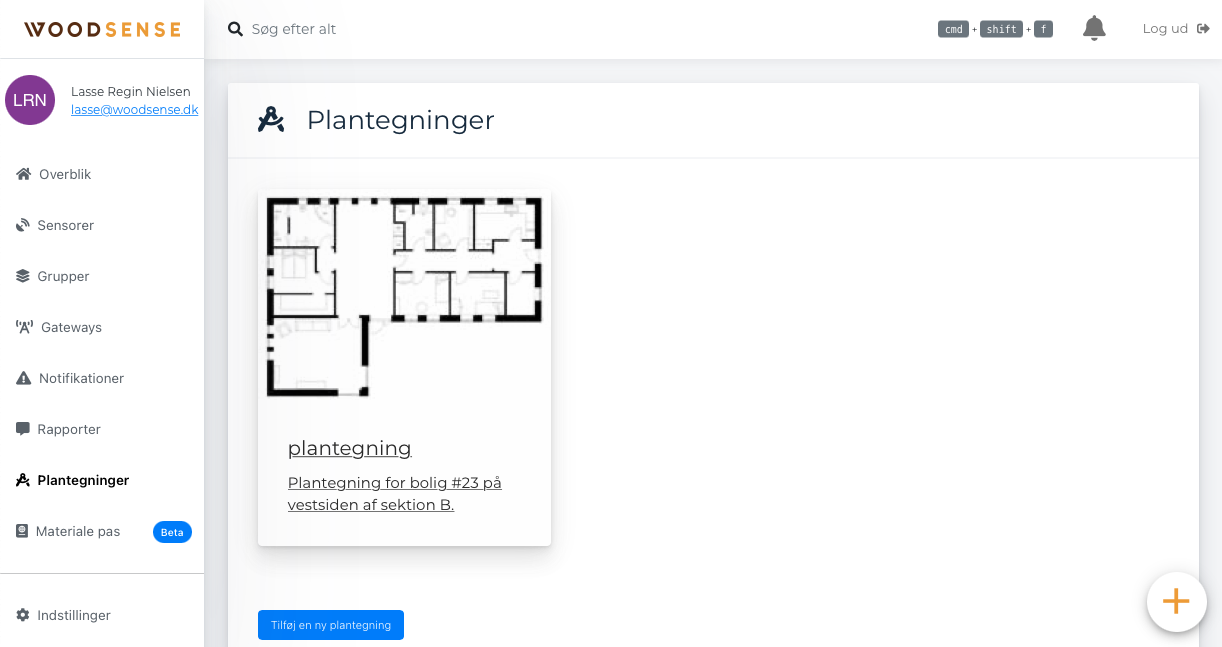
Where to be greeted by the following image:
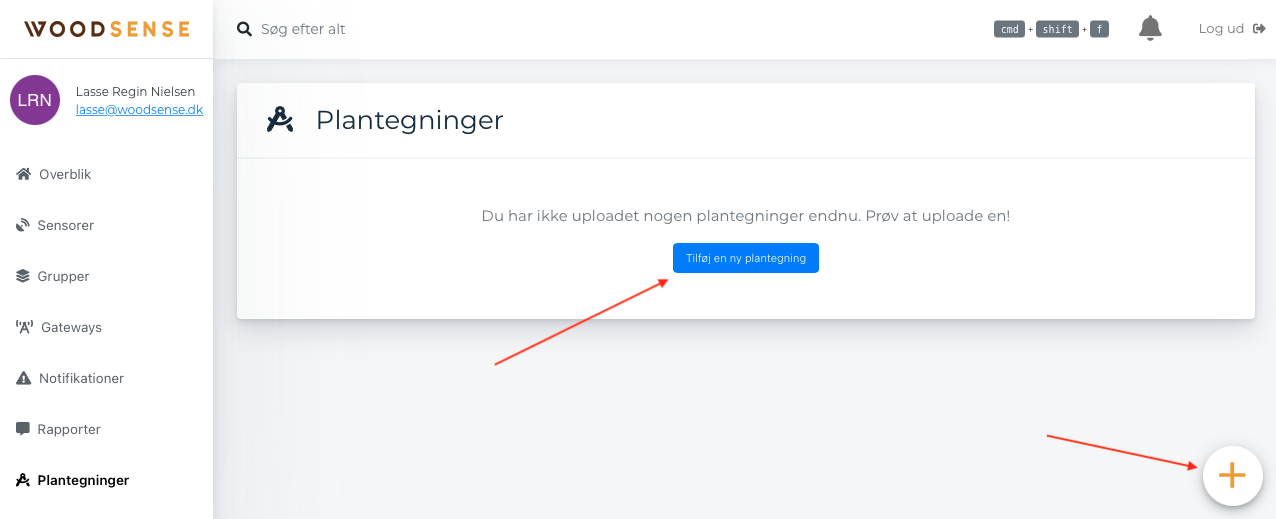
This page serves as an overview of which floor plans exist and will therefore list all the floor plans that have been uploaded (the example above shows a situation where no floor plans have yet been uploaded).
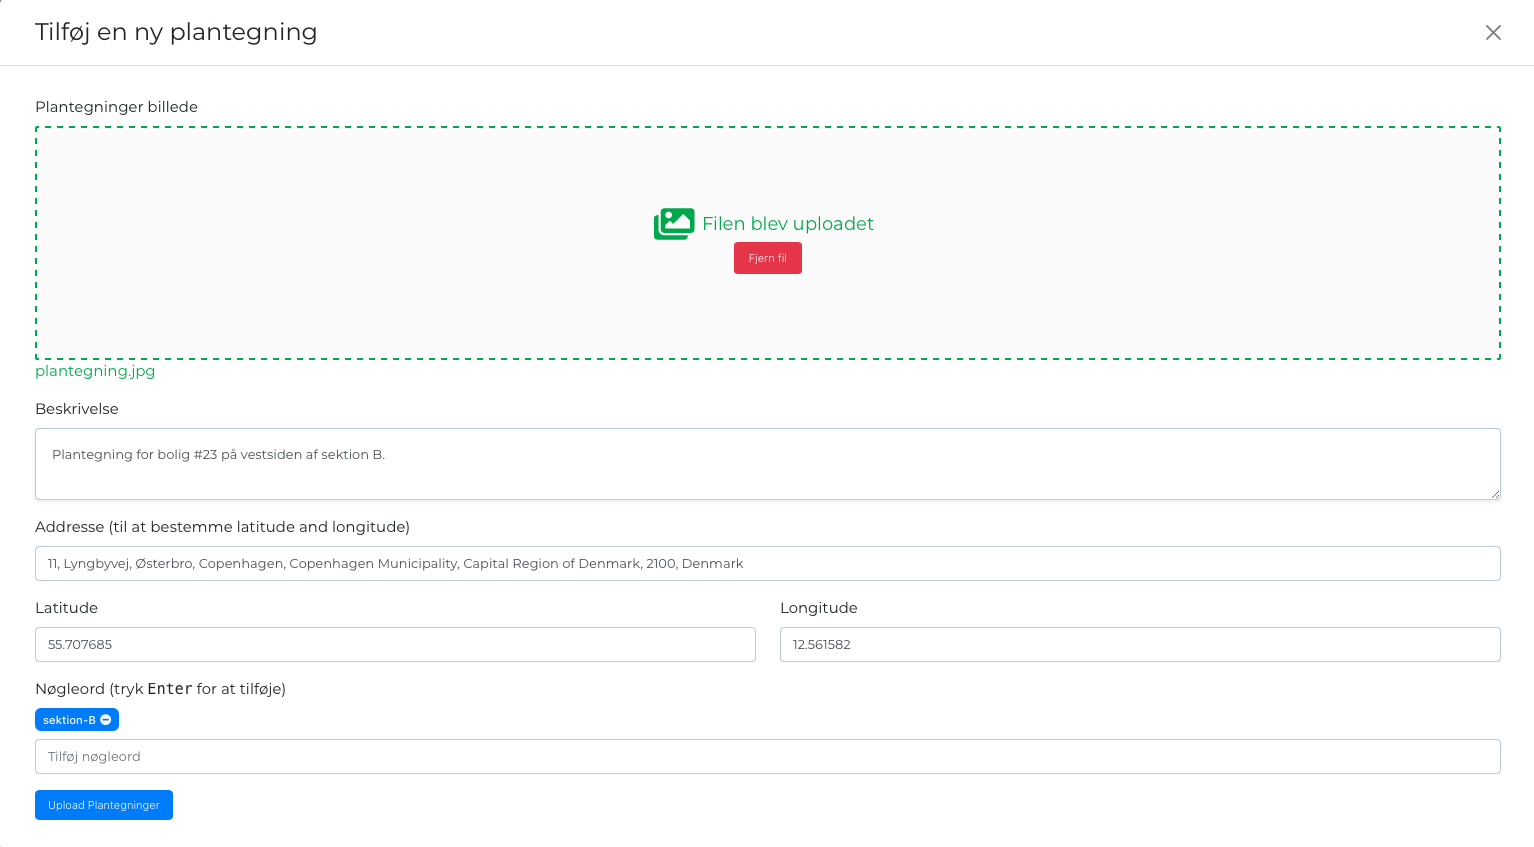
Clicking the "Add a new floor plan" button displays a form that provides a brief description of which floor plan is involved and, if necessary, adds an address to indicate the geographical location of the floor plan.
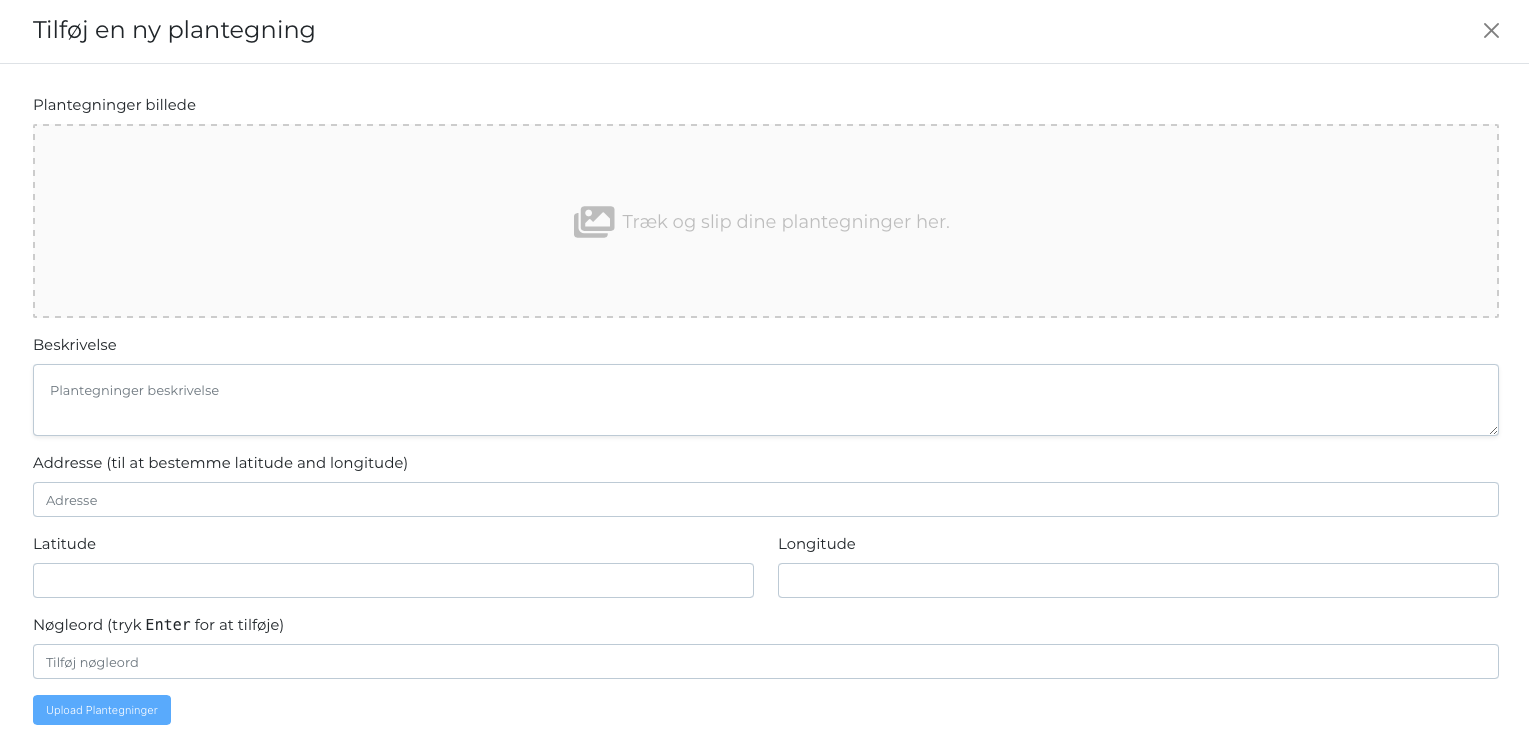
The floor plan itself must consist of a single image file that can be selected from the user's computer/mobile and must be of the jpg, png, bmp, or heic file format. If the floor plan is uploaded as pdf, the floor plan must appear on the first page of the file.
After completion and submission of the form, the floor plan will now appear in the table under "Floor plans".
From here you can choose 2 different methods to place the sensors on the floor plan; several at a time or one moisture meter at a time.
Positioning multiple sensors at once
First, under "Sensors attached to floor plan", connect the sensors you want.
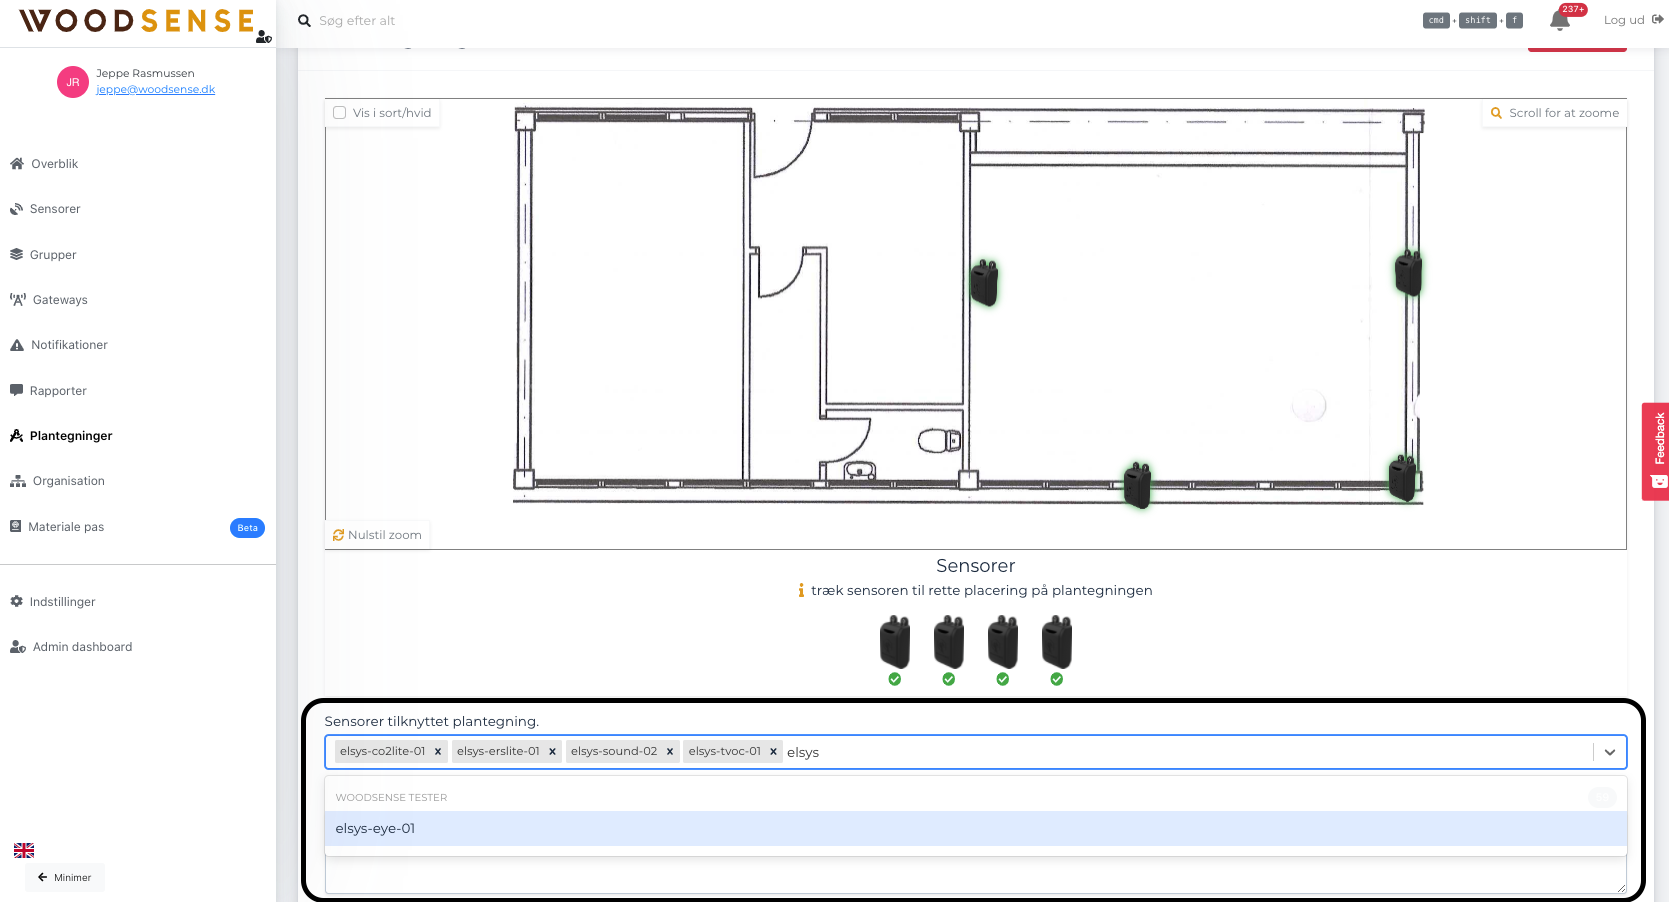
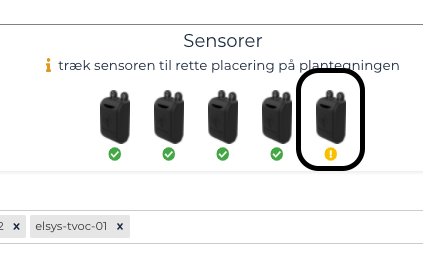
The sensors can now be pulled onto the floor plan.
Position of individual sensor on floor plan
To place a sensor on a given floor plan, the sensor must first be attached to that floor plan. This is done on the "Location" tab of a sensor's page.
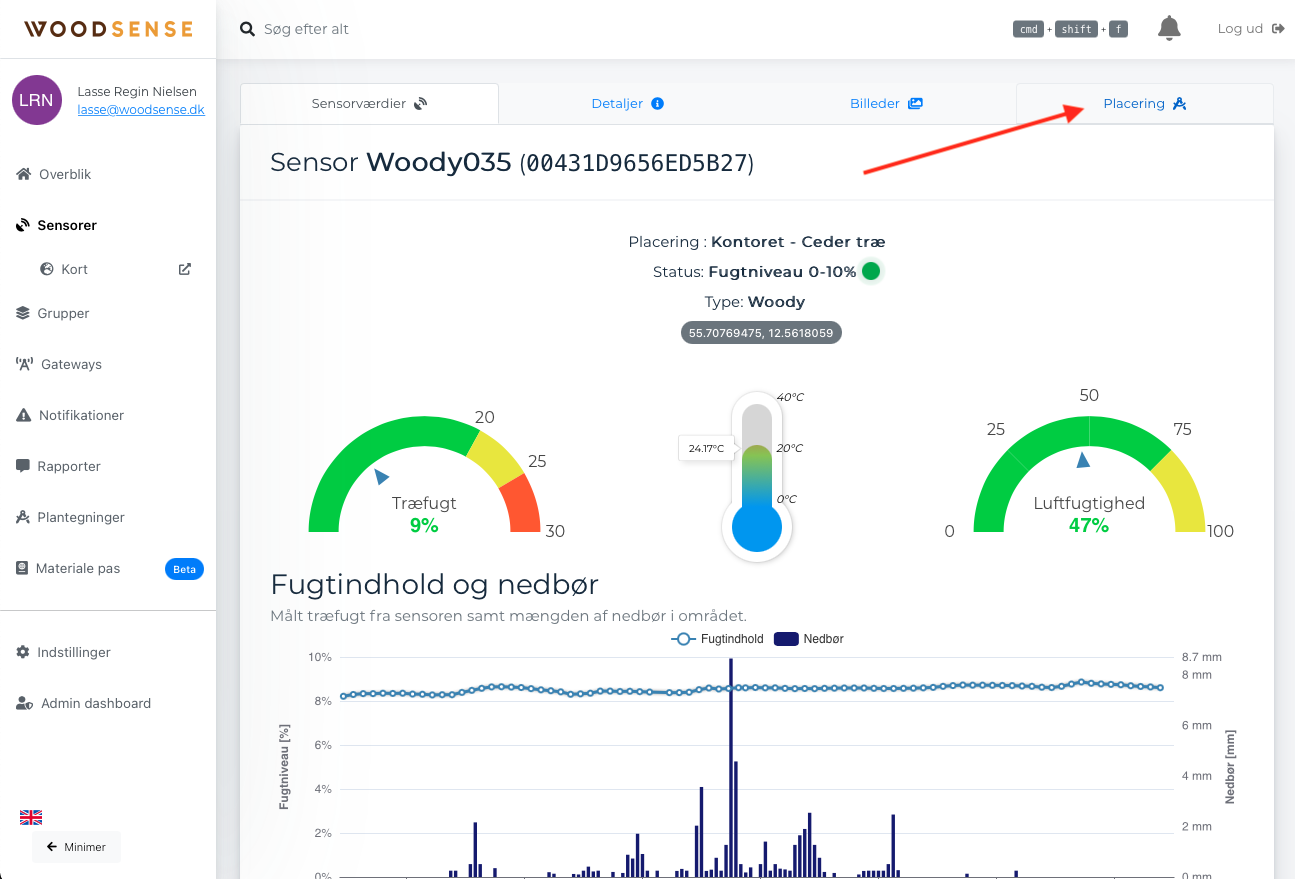
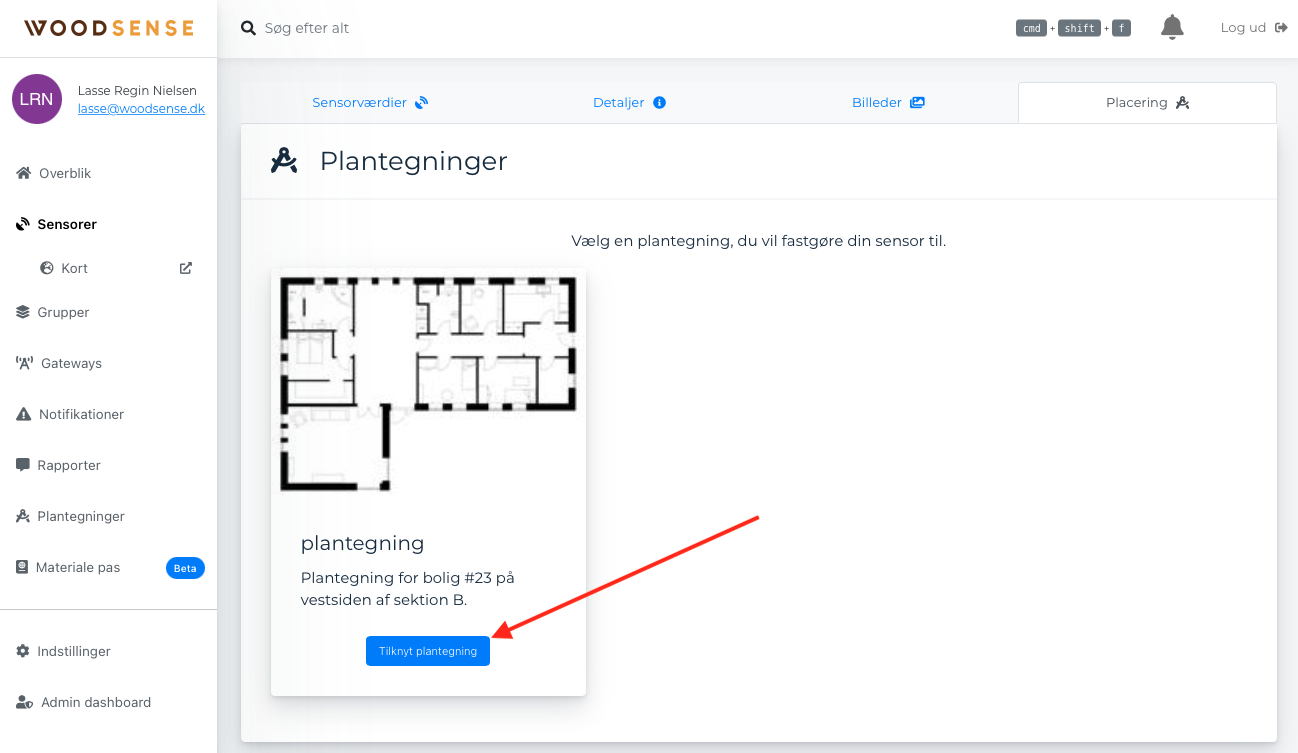
Here you can see an overview of the available floor plans, and the sensor is attached by simply clicking the "Map Floor Plan" button.
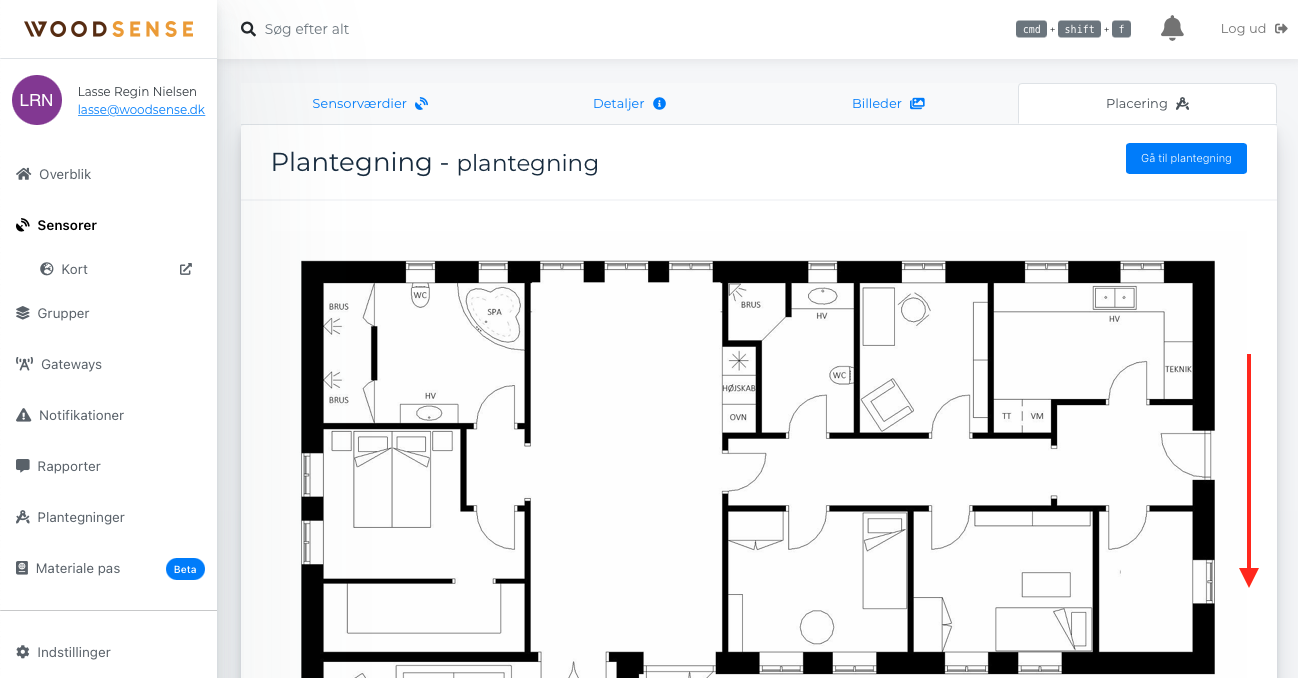
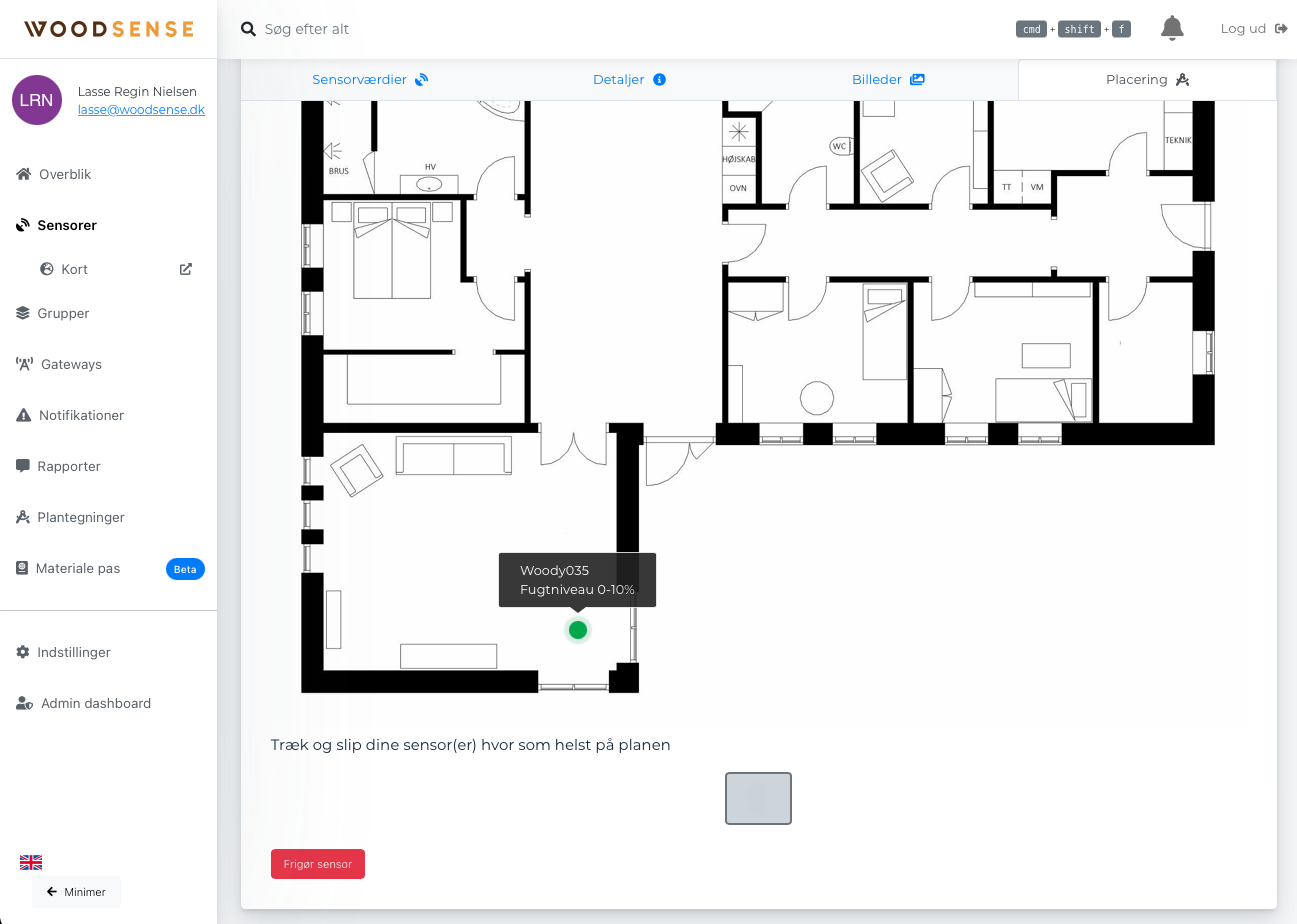
After the sensor has been attached to a floor plan, the tab changes to the following image, where the floor plan appears in full size.
At the bottom of the image, the associated sensor is seen as a small pulsating circle (if several sensors are attached to the floor plan, they will also be shown here).
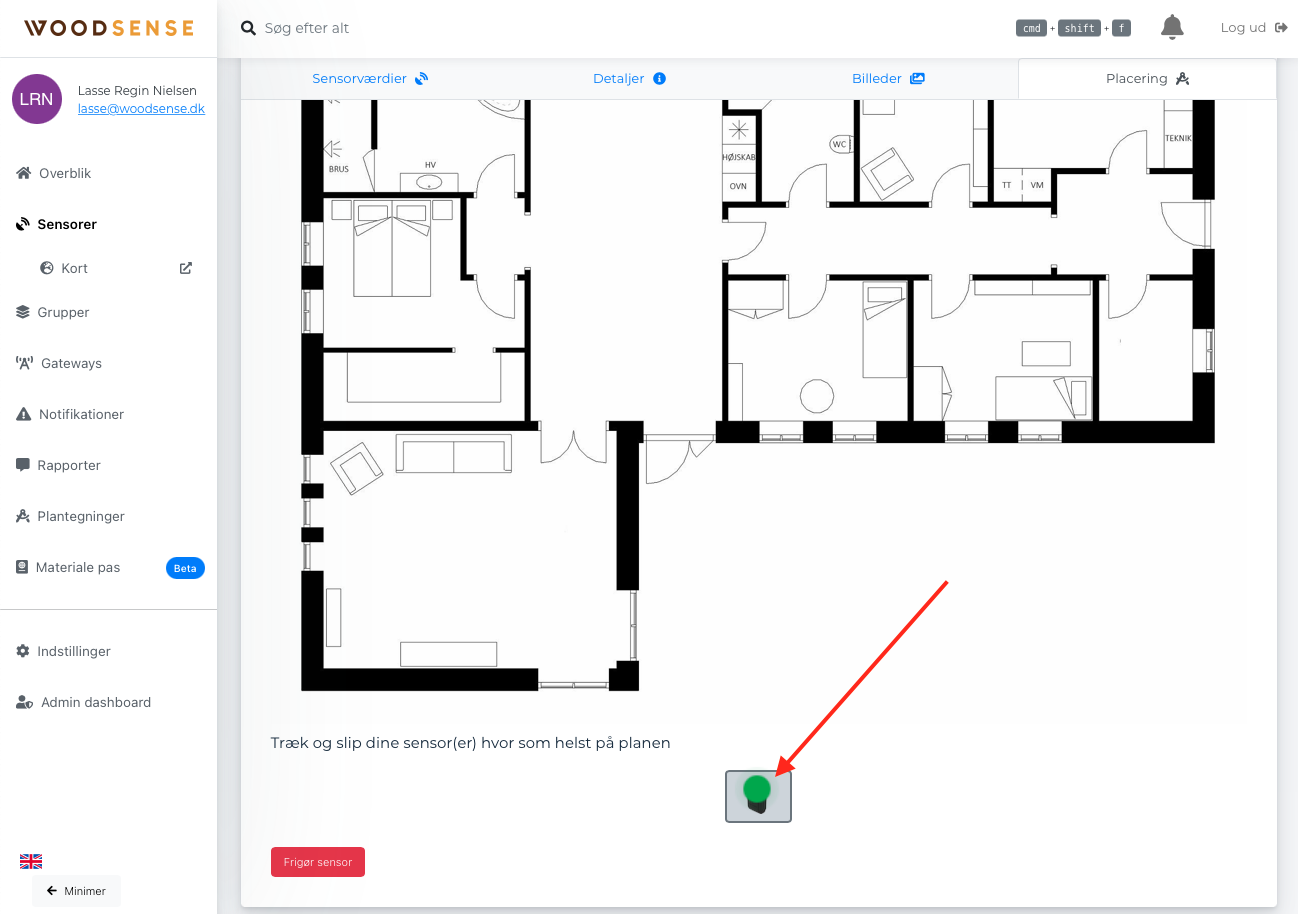
The position of the sensor on the floor plan is done by dragging the sensor (circle) to the correct location in the image and releasing it with the mouse. Once this is done, the image will briefly darken while the location is stored, after which the sensor will be placed on the floor plan.
This procedure is repeated for all sensors to be placed on a floor plan. Finally, the full overview of all placed sensors can be seen under the "Floor plans" page, as described at the beginning of this guide.